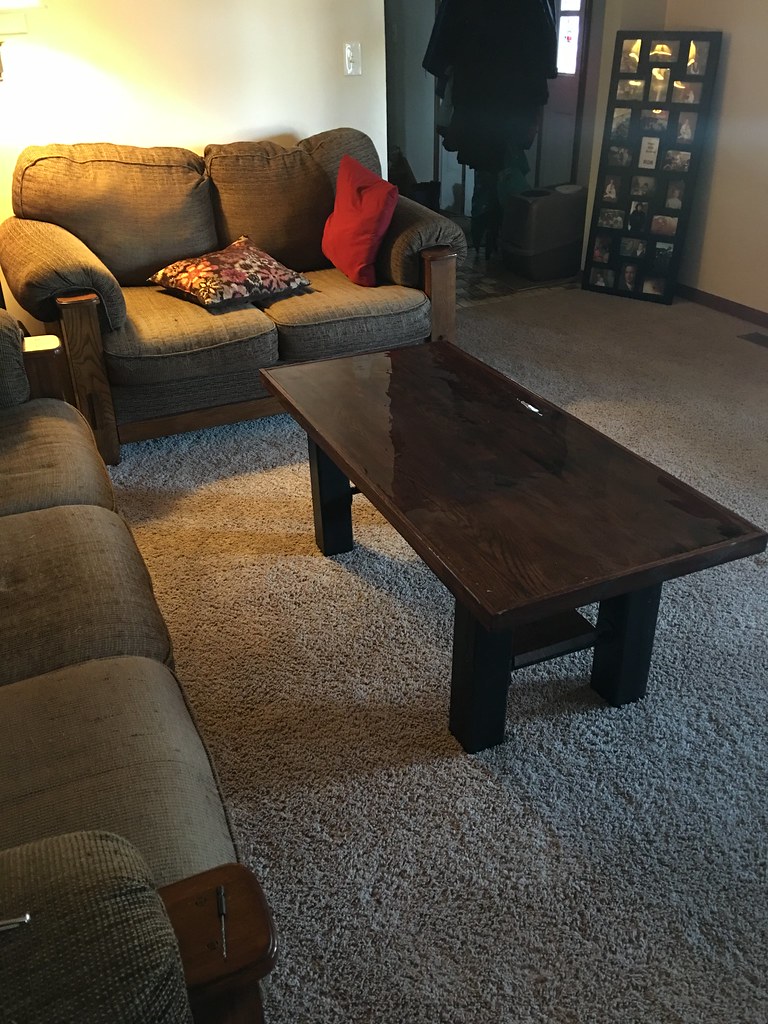
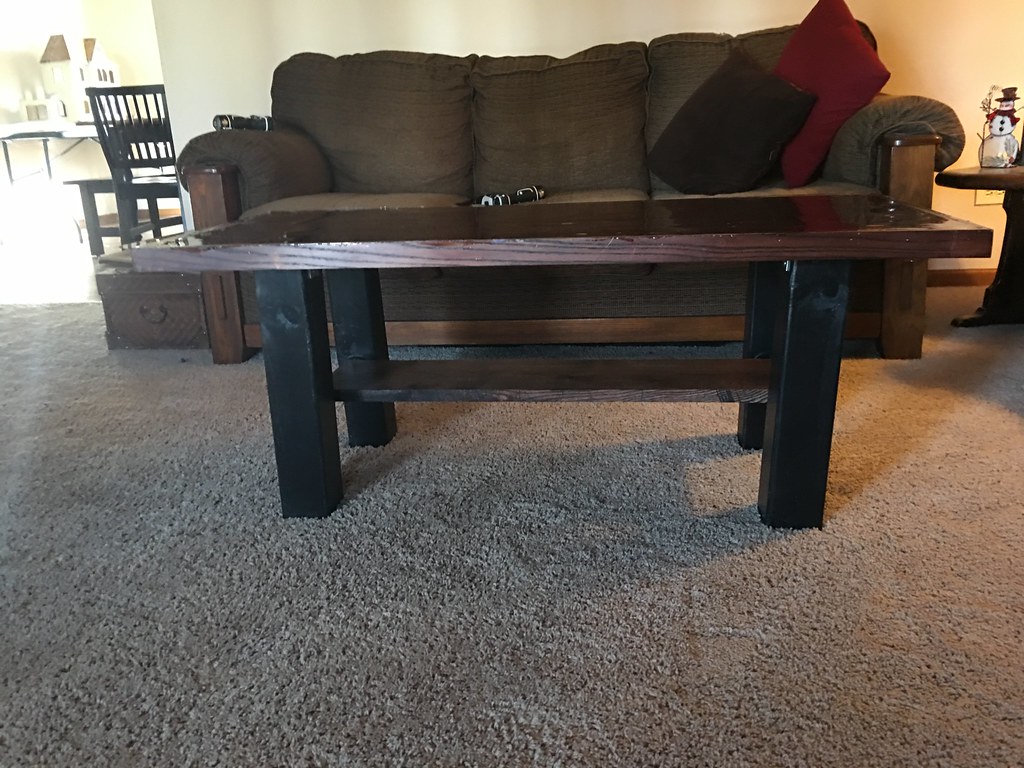
Why I wanted to build a coffee table from scratch…
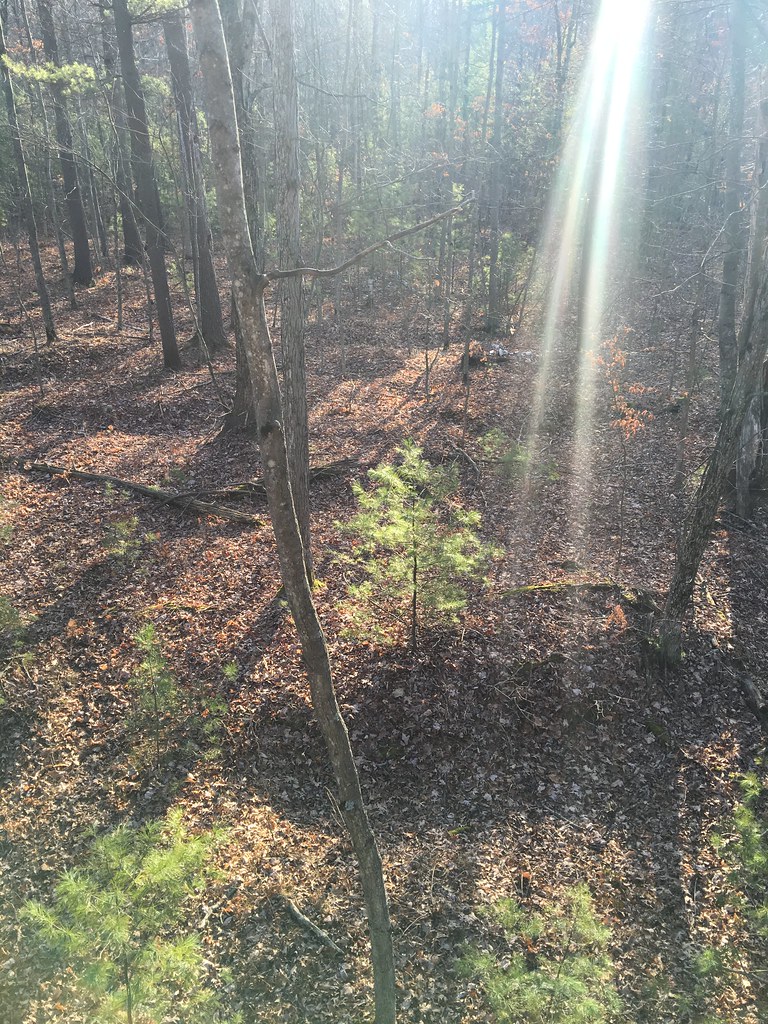
My Dad and uncle purchased 60 acres of wooded property in central Wisconsin near where my Dad grew up ~25 years ago. They primarily bought it so we’d all have “our own” place to go deer hunting every November. I can remember the first time we went out there like it was yesterday and to this day it’s one of my most favorite places to go.
 It was snowing snowflakes so big you could barely see. Amongst the coolest things on the property was a really old sawmill. The mill was in no way in working order, but it was amazing. ~3ft circular saw blade that would have likely been powered by the PTO (power take-off) of an old tractor.
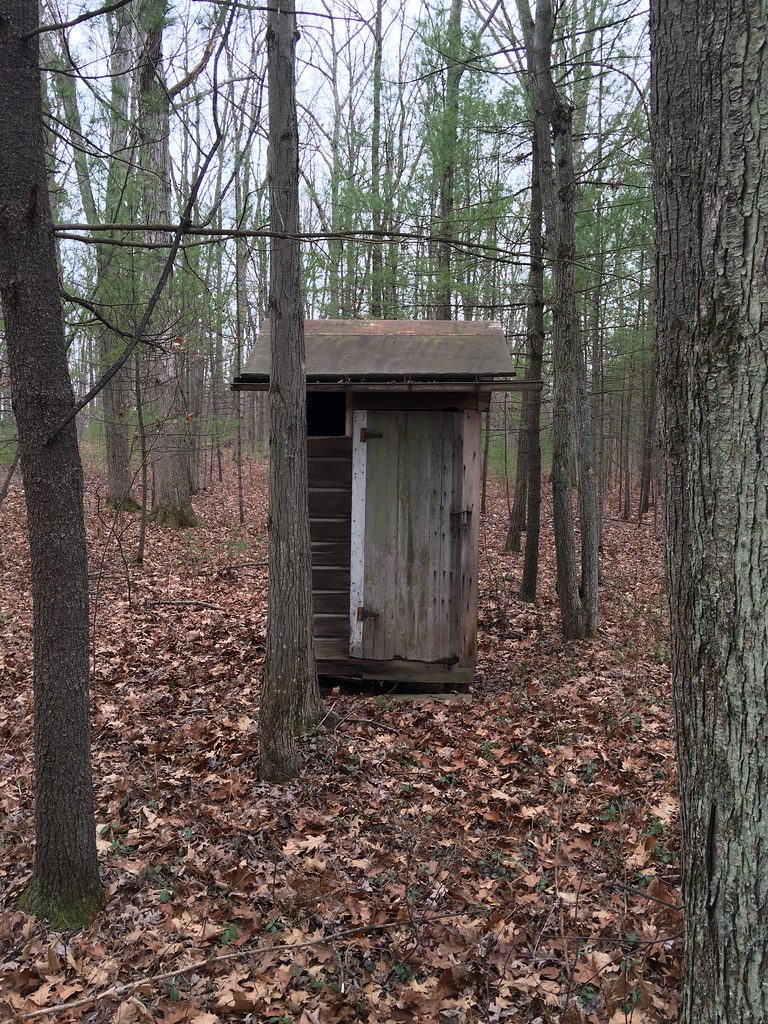
The property appeared to have been untended to for a good bit of time. There still are no real utilities out there; a two hole outhouse a solar panel and a few deep cycle batteries, “The Shack” which is the original shed/cabin-like structure that is out there, and of course the trailer…an old 50’s era mobile home. There was rough cut lumber strewn all over around where the sawmill stood. Over the next couple of years we cleaned up the property and stacked a fair amount of board feet of the rough cut lumber. Much of the lumber is oak of various varieties. We always figured we’d come up with some use for the wood and this past fall, ~25 years later, a majority of that lumber is still neatly stacked protected under some corrugated galvanized steel roofing, just as it has been for >20 years. My Dad, uncle and I got to talking and I decided I was going to take some a few boards home and try to build, despite never having really built “furniture” before, a nice coffee table for my house.
You see, as a technology executive as my “day job” my hobbies often tend toward the exact opposite; being outside, hunting, fishing, BBQ, building things, canning, etc. This would be the perfect winter project.
In late November, my uncle and I selected four ~9ft lengths of board, 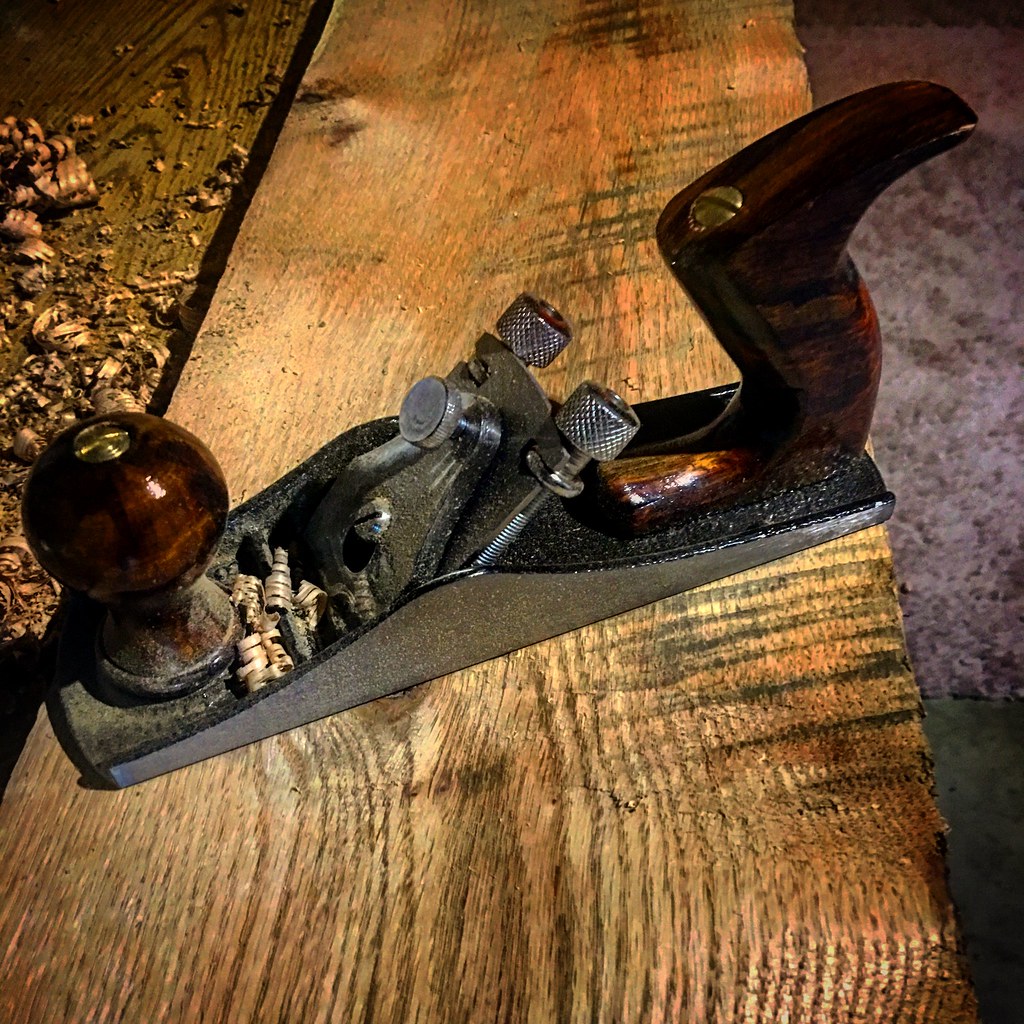 rough cut them in half and loaded them in the car. Initially I thought it’d be super cool to hand plane each and every board down to a similar, but not exact, thickness after all I did want this to be a rustic looking table. That was a pretty short-lived thought. Turns out that old oak is hard! Very hard! What better opportunity to purchase a thickness planer anyway?
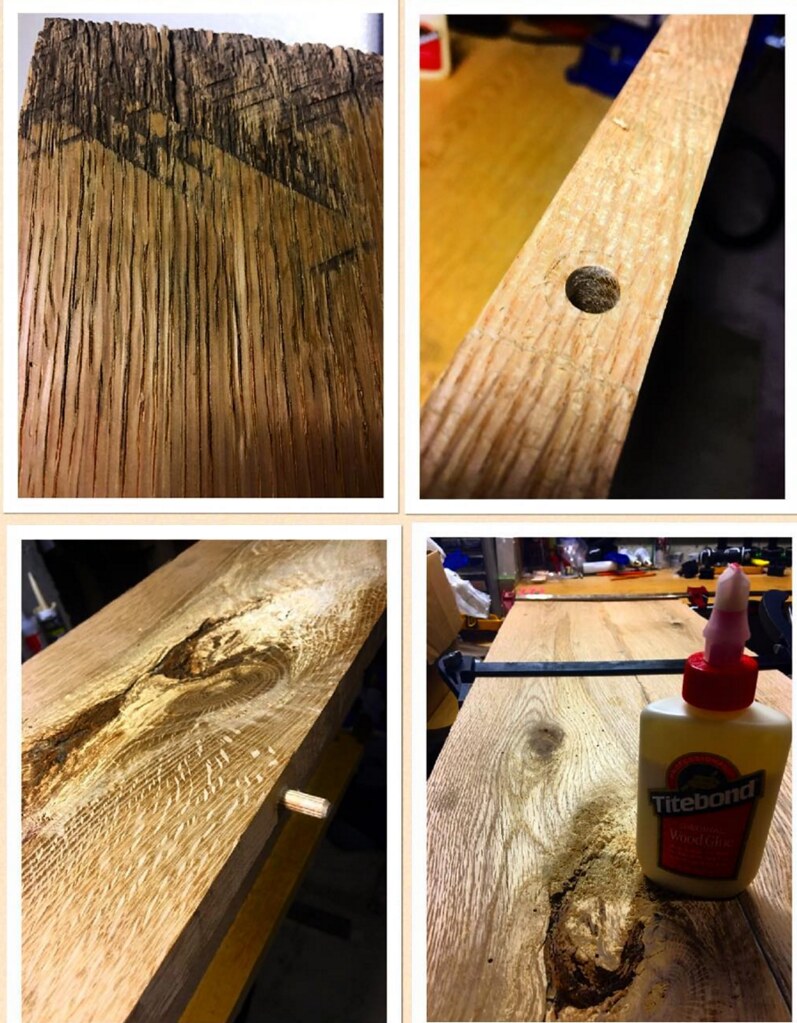 Over the next few weeks we planed down each board to within 1/32″ thickness of each other and began the process of doweling the pieces together, lengthwise, for the tabletop.
Dowel pegs, drills, bar clamps and wood Gorilla glue became my best friends.
What I found as I dry fit the pieces together was that each board was ever so slightly twisted/warped. Individually, you couldn’t tell at all, but when each piece was joined to the next, it was apparent that the tabletop was either going to end up concave or convex. I contemplated planing the boards 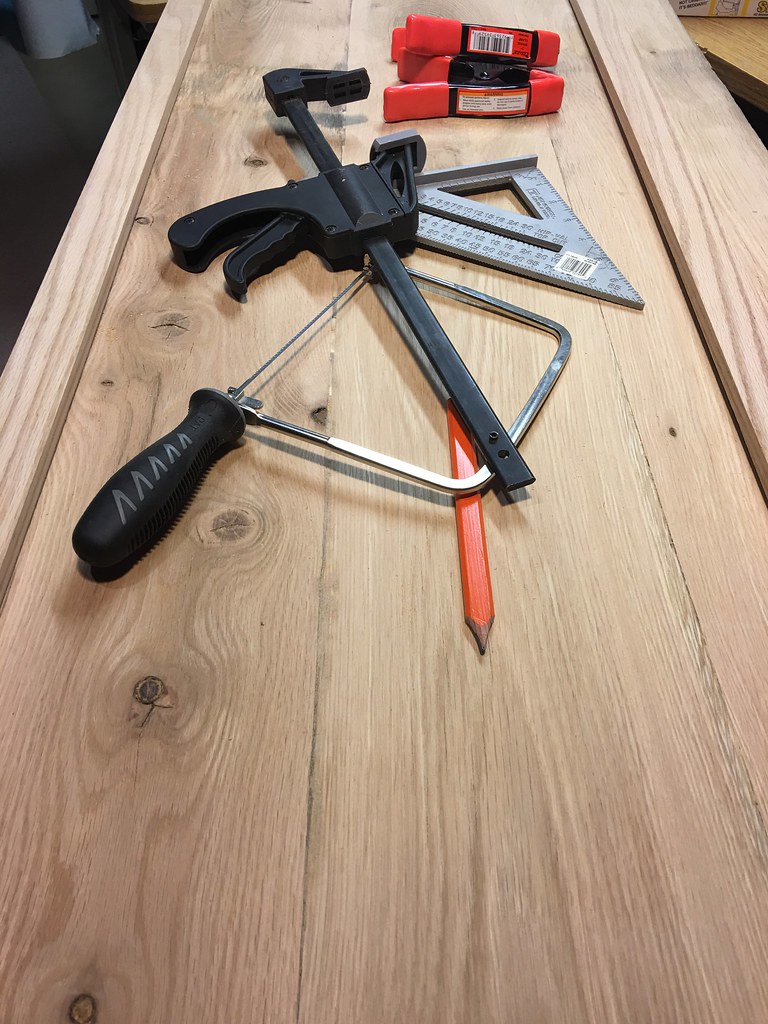 down further, after all, that’s one of the beauties of a power planer, right? After doing the math, I just didn’t want to remove the amount of material I would have needed to to get a perfectly planed surface. In fact, with each day that passed and I contemplated the problem, I liked the idea of the top being a bit concave. It added to the story and character of the piece. So, it was glued, clamped and let to sit for about 10 days.
With no real plan for the table, now it was time to decide on the finish and what the heck to do for legs. I took to Pinterest to look for ideas and inspiration. Tracey, my wife, also sent me some pins to look at. We ended up liking 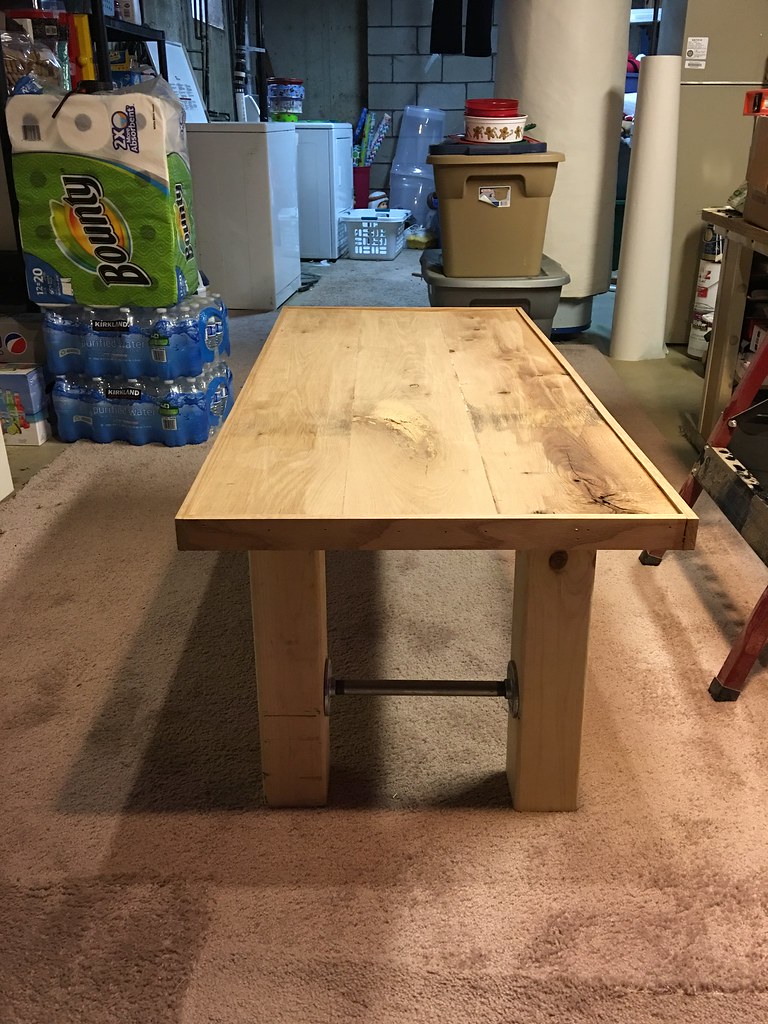 this whole idea of using galvanized pipe for structure. There is some really neat furniture out there using nothing but pipe for structure, legs and feet. We thought that’d be a bit much and, since our living room is carpeted, didn’t want to risk snagging the carpet with the pipe. So we figured a hybrid wood/galv pipe would look cool. I decided on nice white pine 4X4 legs , some threaded galvanized pipe and floor flanges.
Last fall, I had refinished our aged dining table from a yellowish pine to a nice 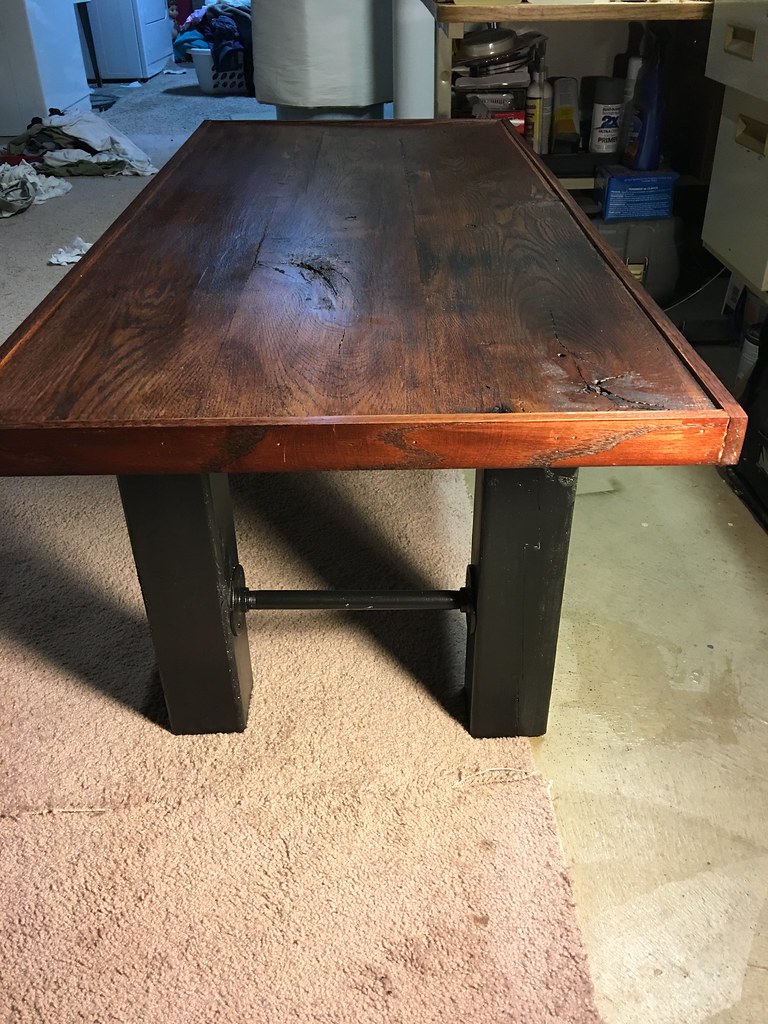 rich mahogany colored top with black legs and apron. The color combination was Tracey’s idea and we absolutely LOVED how it turned out. Since the living room is right next to our dining room, we decided to mimic that same finish on this old oak table.
As can be seen in these pictures, I trimmed out the tabletop with a 1 1/2″ X 1/2″ oak strip. We built the frame then glued and tacked it to the 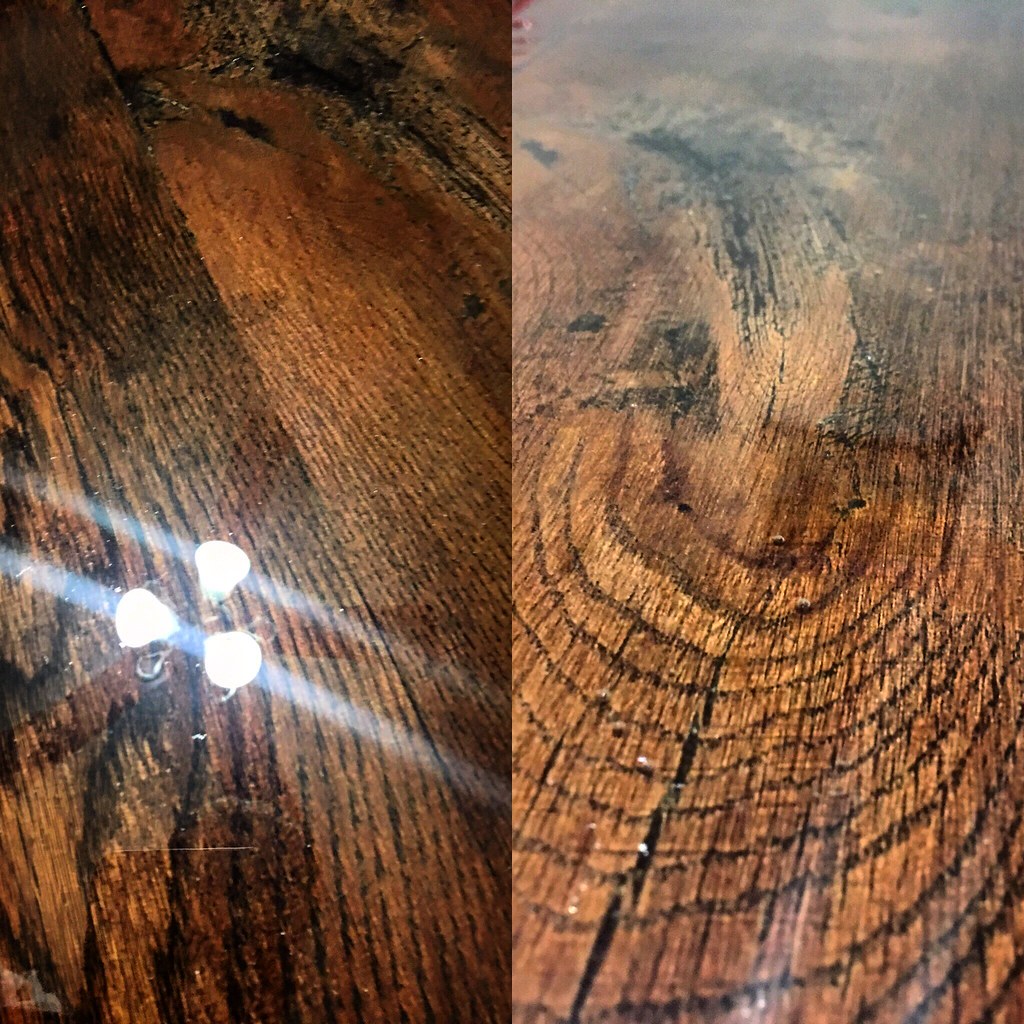 top so that there’d be a nice and level flange around the table top.
Why? EPOXY top!
The epoxy, overall, was pretty easy to work with. However, I choose to flood fill the top on one of the coldest days of the year and didn’t realize that our emergency egress window in the basement had sprung a heck of a draft… It messed with the epoxy resin setting properly. But, after a week and a half of messing around with touch up coats and another thin coat it turned out really nice.
This is the table in it’s new, native, habitat:
Tools used:
- Hand planer
- Thickness planer
- Circular saw
- Brad nailer
- Drill
- Impact Driver
- Dowel jig
Material used:
- 12 board foot old, aged, oak
- 1 4X4 white pine post
- 10′ 1 1/2″X 1/2″ oak strip
- 2 – 10″ 1/2″galvanized pipe
- 4 – 1/2″ floor flanges
- Mahogany stain
- Flat black paint
- Varathane heavy duty, satin, crystal clear polyurethane
